
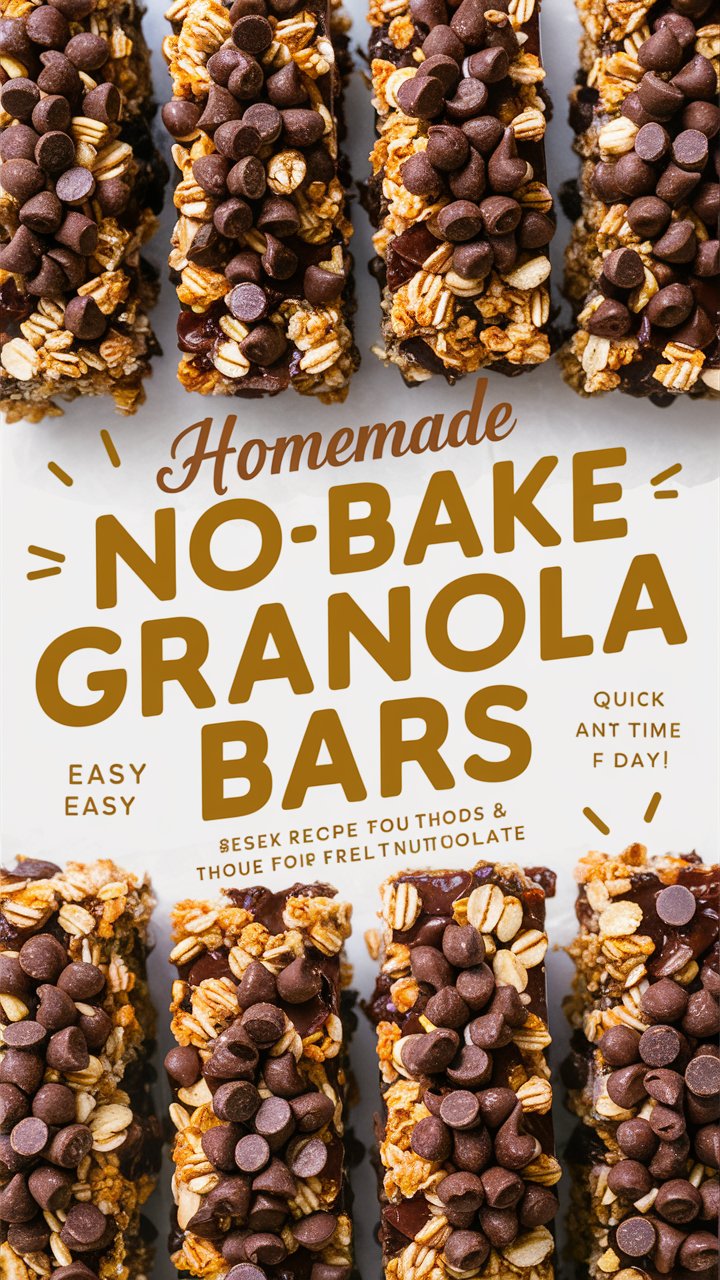
In today’s fast-paced world, finding a snack that is both convenient and nutritious can feel like a challenge. That’s where Easy No Bake Granola Bars come in—a delicious, wholesome treat you can prepare in minutes without turning on the oven. Whether you’re rushing through your morning routine, packing lunchboxes, or looking for a post-workout energy boost, these bars provide the perfect balance of crunch, chew, and flavor.
Unlike store-bought granola bars, which can be loaded with added sugars and preservatives, homemade bars let you control every ingredient. You can customize them to match your taste preferences, dietary needs, and even your pantry inventory. Plus, the no-bake method ensures minimal cleanup and stress-free preparation, making it a favorite for busy families, health enthusiasts, and anyone who enjoys a quick homemade snack.
In this comprehensive guide, we’ll explore the benefits of no-bake granola bars, key ingredients, step-by-step preparation, storage tips, nutritional insights, and creative variations, providing everything you need to master this delightful snack.
Why No-Bake Granola Bars Are Ideal
Convenience and Speed
One of the main reasons no-bake granola bars have become a staple in kitchens worldwide is their speed of preparation. Unlike baked treats that require heating and cooling time, no-bake bars come together in under 15 minutes. This makes them ideal for mornings when time is tight or for last-minute snacks before heading out the door.
Healthier Alternative to Store-Bought Bars
Many commercially available granola bars contain hidden sugars, artificial flavors, and preservatives. Homemade bars allow you to choose natural sweeteners like honey or maple syrup, incorporate wholesome nuts and seeds, and use high-quality oats, giving you a cleaner, nutrient-rich option.
Versatility for Every Occasion
No-bake granola bars are incredibly versatile. They can be eaten as a breakfast on the go, a mid-day snack, a lunchbox treat for kids, or a post-workout recovery snack. Their flavor and texture can be tailored to suit your preferences, making them appealing to both adults and children.
Key Ingredients and Their Benefits
Rolled Oats
Rolled oats form the base of these granola bars. Rich in fiber, vitamins, and minerals, oats provide sustained energy and help maintain satiety. They are also naturally gluten-free (when certified), making them a suitable option for those with gluten sensitivities.
Nut Butters
Nut butters, such as peanut, almond, or sunflower seed butter, add protein, healthy fats, and creaminess to the bars. They also act as a natural binder, holding the oats and other ingredients together without the need for eggs or artificial stabilizers.
Sweeteners
Honey and maple syrup are the primary sweeteners used in no-bake granola bars. Honey provides a rich, floral sweetness with antibacterial properties, while maple syrup offers a vegan-friendly alternative with a distinctive flavor. Both contribute to the chewiness and cohesion of the bars.
Nuts and Seeds
Adding nuts like almonds, walnuts, or cashews enhances the texture and nutritional profile. Seeds such as pumpkin, chia, or flax provide healthy omega-3 fats, fiber, and micronutrients. The combination of nuts and seeds makes the bars crunchy, satisfying, and nutrient-dense.
Dried Fruits and Optional Chocolate
Dried fruits like raisins, cranberries, apricots, or cherries introduce natural sweetness, color, and antioxidants. Chocolate chips can be added for indulgence, especially dark chocolate, which offers antioxidants and a touch of richness without overwhelming the overall healthiness of the bars.
Step-by-Step Guide to Making No-Bake Granola Bars
Step 1: Gather Your Ingredients
Start by assembling all your ingredients in one place. This prevents last-minute searching and ensures a smooth preparation process.
- 2 cups rolled oats
- 1 cup nut butter (peanut, almond, or sunflower)
- ½ cup honey or maple syrup
- ½ cup mixed nuts and seeds
- ½ cup dried fruits
- ¼ cup chocolate chips (optional)
Step 2: Prepare the Base
In a large mixing bowl, combine the rolled oats with the mixed nuts and seeds. This mixture provides the foundation for your bars, ensuring each bite has a balance of crunch and chew.
Step 3: Mix the Wet Ingredients
In a separate bowl, combine nut butter with honey or maple syrup. If needed, warm slightly in the microwave for 20 seconds to make mixing easier. Stir until smooth and creamy.
Step 4: Combine Ingredients
Pour the wet mixture over the dry ingredients and mix thoroughly. Ensure all oats, nuts, and seeds are coated evenly. The mixture should be sticky and hold together when pressed.
Step 5: Add Fruits and Chocolate
Fold in your dried fruits and chocolate chips. This step adds sweet surprises and bursts of flavor throughout the bars.
Step 6: Shape and Chill
Line an 8×8-inch pan with parchment paper. Transfer the mixture and press firmly into the pan to create an even layer. Refrigerate for at least one hour to allow the bars to set.
Step 7: Cut and Serve
Once set, remove from the pan and cut into bars or squares. Store in an airtight container in the refrigerator for up to two weeks, or at room temperature for a week.
Tips for Perfect Texture and Taste
- Use old-fashioned oats for optimal texture; quick oats can make the bars too mushy.
- Press firmly when shaping the bars to ensure they hold together.
- Experiment with different nut butters or seeds for unique flavors.
- Add a pinch of cinnamon, vanilla extract, or salt to enhance the taste profile.
- Avoid overloading with chocolate chips, as too much can prevent proper setting.
Storage and Shelf-Life
- Room Temperature: Store in an airtight container for up to 1 week.
- Refrigerator: Extend shelf life to 2 weeks; bars remain chewy and flavorful.
- Freezer: Wrap individually and store in a freezer-safe bag for up to 3 months. Thaw at room temperature before serving.
Proper storage ensures that your granola bars remain fresh, chewy, and delicious for days, making them a convenient snack to grab anytime.
Nutritional Information and Health Benefits
Approximate Nutritional Info per Bar (12 servings):
- Calories: 180 kcal
- Protein: 5 g
- Carbohydrates: 22 g
- Fiber: 3 g
- Fat: 8 g (Saturated: 1 g)
- Sugar: 10 g
Health Benefits:
- High in fiber for digestive health.
- Protein from nut butters supports muscle repair and energy.
- Healthy fats improve satiety and heart health.
- Low in added sugar compared to store-bought bars.
Creative Variations and Flavor Ideas
- Chocolate Peanut Butter Bars: Use cocoa powder in the mixture for a chocolatey twist.
- Tropical Fruit & Coconut Bars: Add dried pineapple, mango, and shredded coconut.
- Seed & Superfood Bars: Incorporate chia seeds, flaxseed, and goji berries for a nutrient-packed option.
- Kid-Friendly Options: Use mini chocolate chips and a mix of colorful dried fruits to appeal to children.
Frequently Asked Questions (FAQs)
1. What are no-bake granola bars?
No-bake granola bars are a snack made by combining oats, nuts, seeds, and a binding agent like honey or nut butter, set without baking.
2. Can I make them vegan or gluten-free?
Yes! Use maple syrup instead of honey for vegan bars and certified gluten-free oats for a gluten-free option.
3. How long do they last?
At room temperature: 1 week. In the refrigerator: 2 weeks. In the freezer: up to 3 months.
4. Can I add protein powder?
Absolutely! Mix a scoop of protein powder into the wet ingredients for a high-protein snack.
5. Are these bars healthy?
Yes! They are rich in fiber, protein, and healthy fats, and can be made with minimal added sugar.
Why Homemade Granola Bars Are Better Than Store-Bought
- Control Over Ingredients: Choose quality nuts, seeds, and sweeteners.
- No Preservatives: Enjoy fresh, natural bars without artificial additives.
- Cost-Effective: Homemade bars are often cheaper than premium store-bought options.
- Customizable: Adjust flavors, textures, and dietary needs easily.
Conclusion
Easy No Bake Granola Bars are more than just a snack—they are a quick, healthy, and customizable solution for busy lifestyles. With simple ingredients and minimal preparation, you can create bars that are perfect for breakfast, lunchboxes, or a mid-day energy boost. Their versatility, nutritional benefits, and delightful taste make them a staple for anyone seeking a wholesome, homemade treat.
Start experimenting with your favorite nuts, seeds, and fruits today, and discover just how simple and rewarding it is to make your own delicious granola bars at home.
