
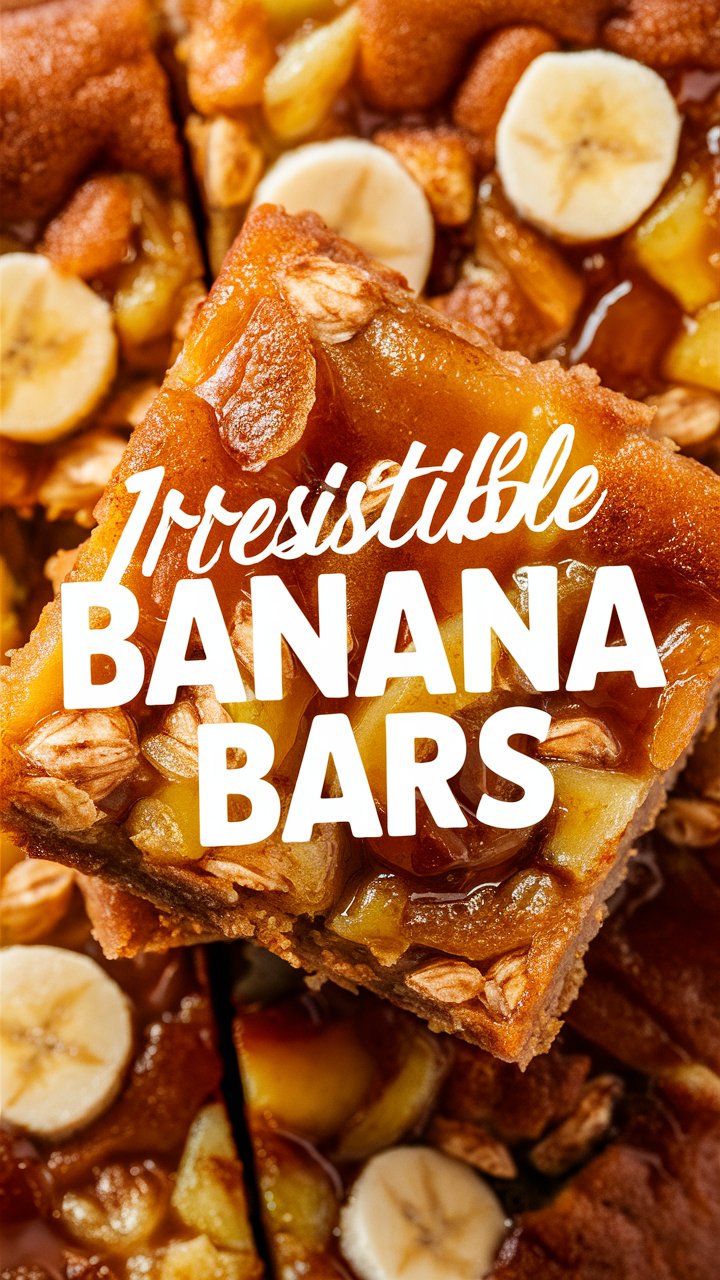
Banana Bread Bars are a modern twist on the timeless classic banana bread, transforming a beloved loaf into a snackable, convenient, and utterly delicious treat. Unlike traditional banana bread, which requires slicing and careful storage, these bars are easy to serve, share, and enjoy anytime. From breakfast to a late-night indulgence, they are perfect for every occasion.
The combination of sweet, ripe bananas with hints of cinnamon and vanilla creates a comforting aroma and taste that instantly evokes warmth and nostalgia. In this comprehensive guide, we will explore every aspect of making the perfect Banana Bread Bars, from ingredient selection to baking techniques, variations, and storage tips. Whether you are a novice baker or an experienced enthusiast, this guide ensures foolproof results every time.
Why Banana Bread Bars Are So Popular
Banana bread has been a favorite in kitchens around the world for generations, known for its moist texture, natural sweetness, and versatility. However, traditional loaves can be cumbersome to slice and share, making them less convenient for quick snacking. Banana Bread Bars address this perfectly.
Benefits of Banana Bread Bars
- Portion-Friendly: Bars are easy to grab and eat without cutting slices from a large loaf.
- Versatile: Enjoy them plain, add toppings, or even dip them in chocolate for extra indulgence.
- Moist and Chewy: The combination of bananas, oil, and sugar ensures a tender texture.
- Customizable: Suitable for gluten-free, vegan, or lower-sugar variations.
- Kid-Friendly: Perfect for lunchboxes, snacks, and family gatherings.
Their convenience and flavor make them not only a practical treat but also an appealing choice for parties, brunches, and everyday indulgences.
Ingredients and Their Roles
Understanding how each ingredient contributes to the bars’ texture and flavor is essential for consistently great results.
Bananas
Use 3–4 very ripe bananas with plenty of brown spots. Overripe bananas provide natural sweetness, moisture, and flavor. Avoid underripe bananas, which may be too firm and less sweet.
Flour
All-purpose flour provides structure. Sifting it ensures lighter, fluffier bars. For healthier variations, you can substitute part or all of the flour with whole wheat flour, almond flour, or oat flour.
Sugar
Granulated sugar balances flavor and enhances caramelization. For lower sugar options, reduce the amount or replace with coconut sugar, maple syrup, or a natural sweetener like monk fruit.
Baking Powder
A fresh teaspoon of baking powder ensures the bars rise properly, producing a tender crumb. Old or expired baking powder may result in dense bars.
Cinnamon
Cinnamon adds warmth and depth, perfectly complementing the natural banana flavor. Ground nutmeg or allspice can be used for added complexity.
Oil or Butter
Vegetable or coconut oil keeps bars moist. Butter can be used but may slightly change texture and richness.
Vanilla Extract
Vanilla enhances sweetness and rounds out flavors. Use pure vanilla extract for best results.
Optional Add-Ins
- Chocolate chips for extra indulgence
- Chopped nuts for crunch and flavor
- Dried fruits like raisins or cranberries for texture and tartness
Step-by-Step Guide to Perfect Banana Bread Bars
Step 1: Prepare the Pan
Preheat the oven to 350°F (175°C). Grease a 9×13-inch baking pan or line it with parchment paper for easy removal. Proper pan preparation ensures your bars do not stick.
Step 2: Mash the Bananas
Place the ripe bananas in a large bowl. Mash with a fork until smooth, leaving small chunks for texture if desired.
Step 3: Mix Wet Ingredients
Add ½ cup sugar, ⅓ cup vegetable oil, and 1 teaspoon vanilla extract to the mashed bananas. Mix until creamy.
Step 4: Combine Dry Ingredients
In a separate bowl, whisk together 1 cup all-purpose flour, 1 teaspoon baking powder, and 1 teaspoon ground cinnamon. Gradually fold into the wet mixture, stirring gently until just combined. Avoid overmixing, which can lead to dense bars.
Step 5: Add Optional Extras
Fold in ½ cup chocolate chips, ¼ cup nuts, or other preferred add-ins. Customize to your taste.
Step 6: Bake
Pour the batter evenly into the prepared pan. Bake for 25–30 minutes, or until a toothpick inserted in the center comes out clean. Cool slightly before slicing.
Tips for Moist and Flavorful Bars
- Use Ripe Bananas: The riper, the better.
- Do Not Overmix: Overmixing develops gluten and results in dense bars.
- Check Baking Time: Ovens vary, so monitor closely after 25 minutes.
- Cool Before Cutting: Bars set better and slice cleanly once cooled.
- Enhance Flavor: Add a pinch of salt to balance sweetness and deepen flavor.
Customization and Variations
Chocolate Lovers’ Bars
Add ¾ cup chocolate chips and drizzle melted chocolate on top after baking.
Nutty Bars
Fold in ½ cup chopped walnuts, pecans, or almonds for crunch.
Gluten-Free Version
Replace all-purpose flour with almond or oat flour. Adjust liquid slightly if needed for texture.
Vegan Version
Use flaxseed meal mixed with water (1 tbsp flaxseed + 3 tbsp water = 1 egg) in place of eggs. Use coconut oil or vegan butter.
Healthier Options
- Reduce sugar by 25–50%
- Substitute coconut sugar or maple syrup
- Add ¼ cup oats for fiber and texture
Serving Suggestions
- Breakfast: Serve with a smear of almond butter or peanut butter.
- Snack: Grab a bar for an on-the-go option.
- Dessert: Top with a drizzle of chocolate or caramel sauce.
- Lunchbox: Pair with fruit for a balanced snack.
Storing and Freezing
Storing at Room Temperature
Keep in an airtight container for up to 3 days.
Refrigeration
Store up to 1 week in the fridge to extend freshness.
Freezing
Wrap individual bars in plastic wrap or foil and place in a freezer-safe bag. Freeze for up to 3 months. Thaw overnight in the fridge or enjoy warm from the oven.
FAQs
Q: Can I use unripe bananas?
A: It is best to use ripe bananas for sweetness and moisture. Unripe bananas may result in a bland or dry texture.
Q: How can I make these bars extra moist?
A: Avoid overmixing and use oil instead of butter for a softer, tender crumb.
Q: Can I substitute sugar?
A: Yes, coconut sugar, maple syrup, or natural sweeteners work. Adjust amounts for sweetness.
Q: Are Banana Bread Bars healthy?
A: They can be! Use whole-grain flour, reduce sugar, and add nuts or oats for added nutrition.
Q: Can I add other flavors?
A: Yes! Try spices like nutmeg, cardamom, or ginger. You can also swirl in peanut butter or chocolate.
Fun Facts About Banana Bread
- Banana bread gained popularity during the Great Depression when people looked for ways to use overripe bananas.
- It became a household staple in the 1930s in America.
- Banana Bread Bars are a modern adaptation, offering convenience without compromising taste.
Troubleshooting Common Issues
- Bars are too dense: Likely due to overmixing. Mix until just combined.
- Bars are dry: Check baking time and use very ripe bananas. Consider adding a tablespoon of milk or yogurt.
- Edges burn: Use parchment paper and adjust oven rack to center.
Presentation Ideas
- Dust with powdered sugar for an elegant look
- Top with a thin glaze of lemon or vanilla icing
- Serve with fresh berries or whipped cream for dessert occasions
Conclusion
Banana Bread Bars are a versatile, easy-to-make, and irresistibly delicious treat. They combine the best elements of classic banana bread with convenience, perfect for snacking, breakfast, or dessert. With options for customization, dietary preferences, and flavor variations, these bars are ideal for every kitchen and occasion. By following the steps, tips, and troubleshooting advice in this guide, you can consistently bake moist, flavorful bars that everyone will love